 Here I am cheating! I wanted to hand sand the board completely, but sanding by hand is ridiculously time consuming and quite difficult! So I borrowed my dads old Porter Cable orbital and with 60 grit took off some mEaT!
 Pic of the deck in the sanding process.
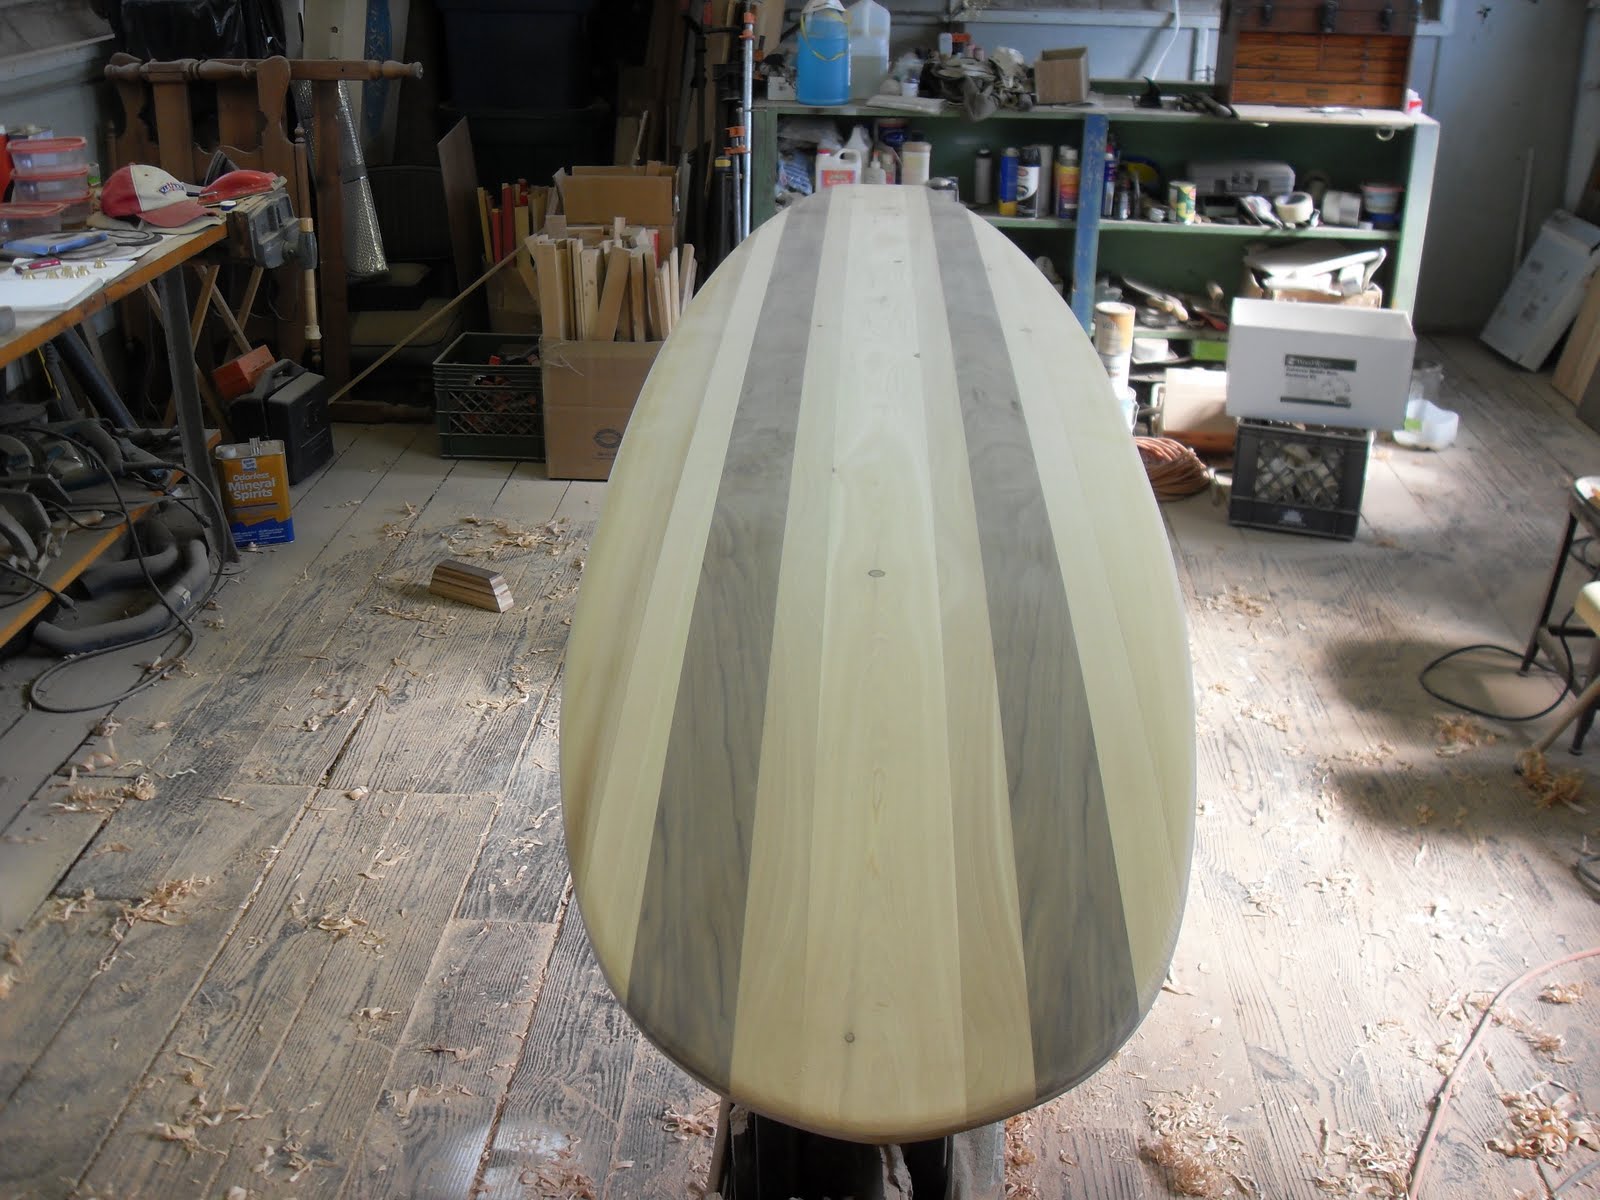 Pic of the hull in the sanding process. Looking pretty sweet! Only problem is that the walnut is sooooo much harder and creates problems with a softer wood next to it. So I was thinking at the time that the walnut will be raised higher than the cedar creating a wave. It did. But, hey a surfboard that both creates waves and rides them? Nice!
 So like the tail I cut off using the jap saw and I sanded a straight line across (a plane perpendicular to the overall average plane of the board) and glued on my tail block. I'm not sure if I showed the process of making that or not here. Basically a bunch of different woods were just glued and clamped together then I shaped them roughly on the belt sander. So i glued them on and just taped them. Excellent tape.
 Ah HA! My Pop made these for me at home. Aren't they perty? Screw type air valves and leash plugs made of brass and stainless.
Big Shout out to Mike Vis who made me finish my blog up! Mike really helped me sand and polish both of my boards to get them ready for the boat show (s) that I showed them in! Will post pic later.
Asta la taco! Happy Halloween!


