It's a good day to blog.
Most of my weekend at the shop was spent making noise with planer and saw, but my Dad was whittling away at the canoe.
He first planed down the gunwales fair with one of the larger handplanes but I think I heard him say at one point that the Lie Nielson (my little hand plane) worked the best. That tool is a gem! He truly makes a good handplane Lie Nielson does!
Next up was hanging the seats. The following are pics of that process:
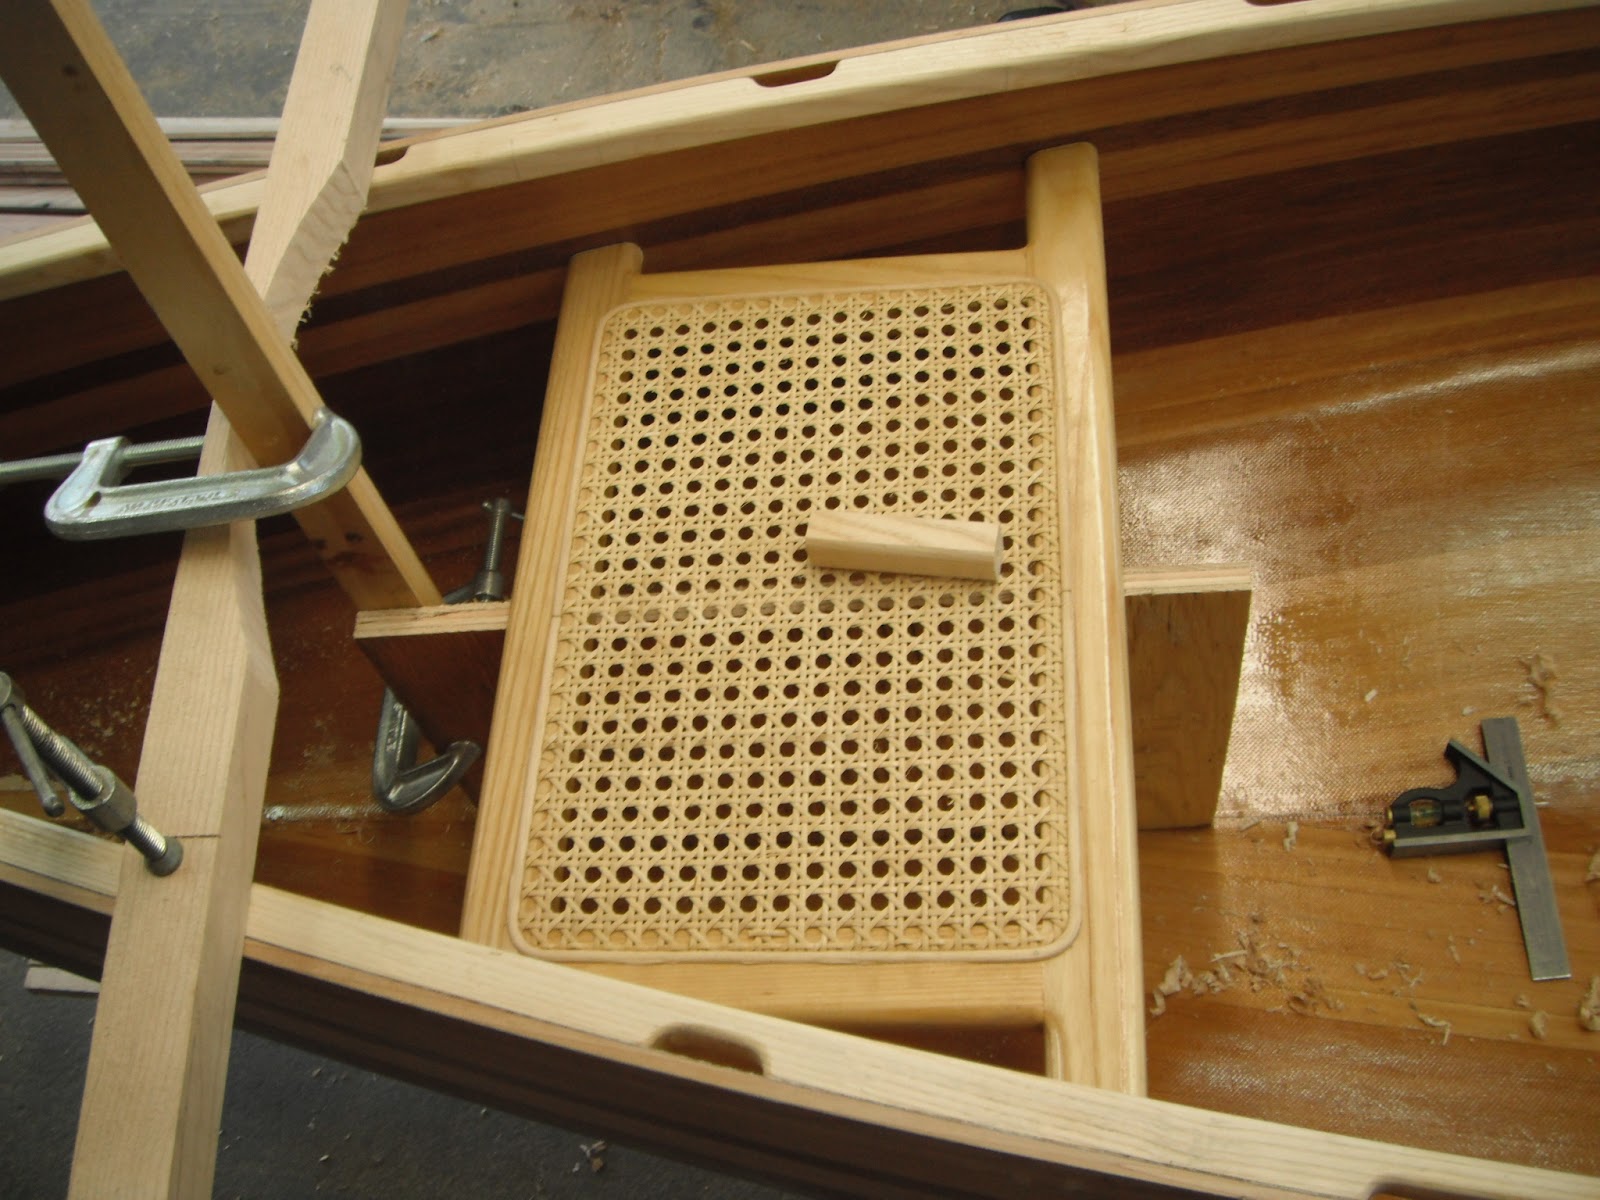
Pictured above and below is the jig that my Dad made to hold the seat in place while it was cut to fit the inside of the canoe. First the seat is laid out on top of the gunwales and lines are drawn on it to where you want to cut, then it is basically tweaking it to fit snug and to be level on each side. That darker stripe in the wood certainly helped in the process. The jig he built is to basically prop the seat up level at a certain height. This height can be tailored to fit the individuals who will be paddling. The bigger the person, the more room they will need for their feet. The seats themselves will be suspended from posts attached to the gunwales and NOT through the hull of the canoe as shown later.

Below is the center thwart or "YOLK". It serves two functions. As the center thwart it gives the canoe strength and rigidity. As the Yolk it serves as a place to carry the canoe on your shoulders. Later as the canoe gets into the finishing stages the yolk will be centered better for balance when a person is carrying it and then it will be permanently mounted. In both the cases of the seats and the yolk, they were bought. We didn't make them. We could have and my dad has in the past, but at the time, they were very inexpensive so it seemed worth it.

Working his way forward my dad is now starting the process for the bow seat. As you can see it is lined up on top of the gunwales at the position that the specs call for putting the seat and drawing his lines. He will then cut a little big of the lines and try and tweak it into place so it looks nice and snug.

The pics are a little out of order, but that is OK. Here is a look at the stern seat. Notice how it is suspended by custom shaped posts with a brass screw going through the gunwale, the post and the seat? It's not fully installed yet as a bunch of varnishing needs to be done before the final installation. There are a lot of little angles to get right when making those posts and you use that bevel gauge that I posted before to copy and paste the angles of the gunwale to the posts.


Below is the jig set up for the bow seat. Looks pretty good, eh?

Have a great day!
No comments:
Post a Comment