Anyway, I digress, actually that is not a digression because I hadn't started yet, unless you count the title of the blog as a starting point, and then it was a digression. But now I truly digress and before you close the page I will start with the real meat of the story.
So, the weather once again is beautiful here in Philly and my dad had off from work so we were able to actually coordinate a nice day to fiberglass the inside of the canoe with days off and we got off to an excellent start!
The first step, always the first step, is to prep the area as clutter tends to build up. While doing this it's good to chat about what you plan on doing and discovering that you don't have mixing buckets big enough for the job and off to the Home Despot you go killing another 30 minutes! Which actually gives you more chance to think about what is going to happen next. Fiberglassing can seem daunting and even frightening. It is the element of drying time that is most worrisome, but when you are through you realize that it wasn't all that bad and that you will remember more for the next time.
So you bite the bullet and start cutting glass. Always read your instructions, whether it be off the internet or from books. I prefer books as you can lay them around the shop for quick reference. Cutting the glass is half the battle as a lame pair of scissors and not paying attention can damage your pretty cloth.
We laid ours out. You gotta have two people for it to go smoothly on a canoe of this size. And then we had three people for applying the epoxy, which was optimal as two can apply the epoxy when you reach the final stages and the third can do the rest of the cutting at the inner stems.
I didn't take pics of each step as the process is messy and moves too fast, to document it you would need a photographer. But I did get the laying out of the glass;

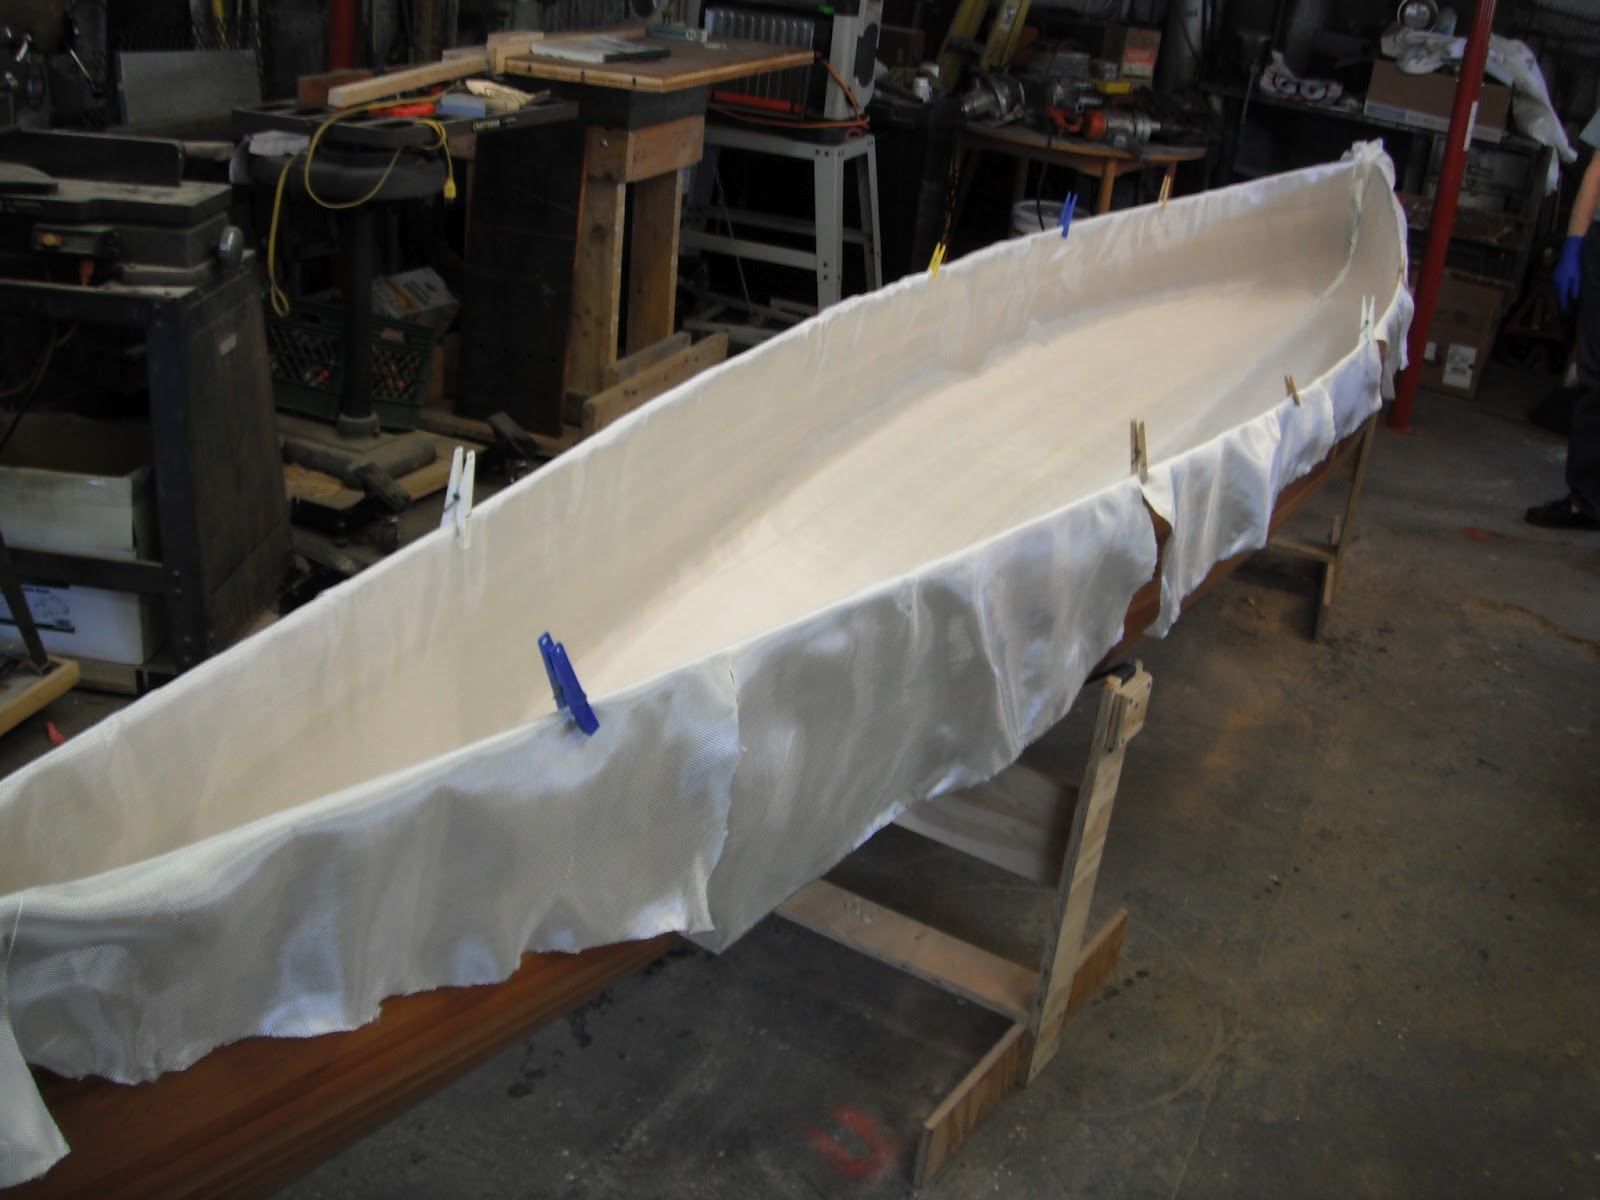

After the boat is wet with epoxy, as much of the excess epoxy is squeegeed off so that the fiberglass is flat to the wood surface and not floating in a puddle of epoxy. This can be a problem when sanding because if the glass is floating and you sand it flat, you can sand through a layer of glass creating a weak spot. Also the sides of the canoe are steep and the epoxy runs like mad, so squeegee the heck out of it, just be careful not to make runs in the fabric or pull it up in the center of the hull.
The pic below is with the lights in the shop on:


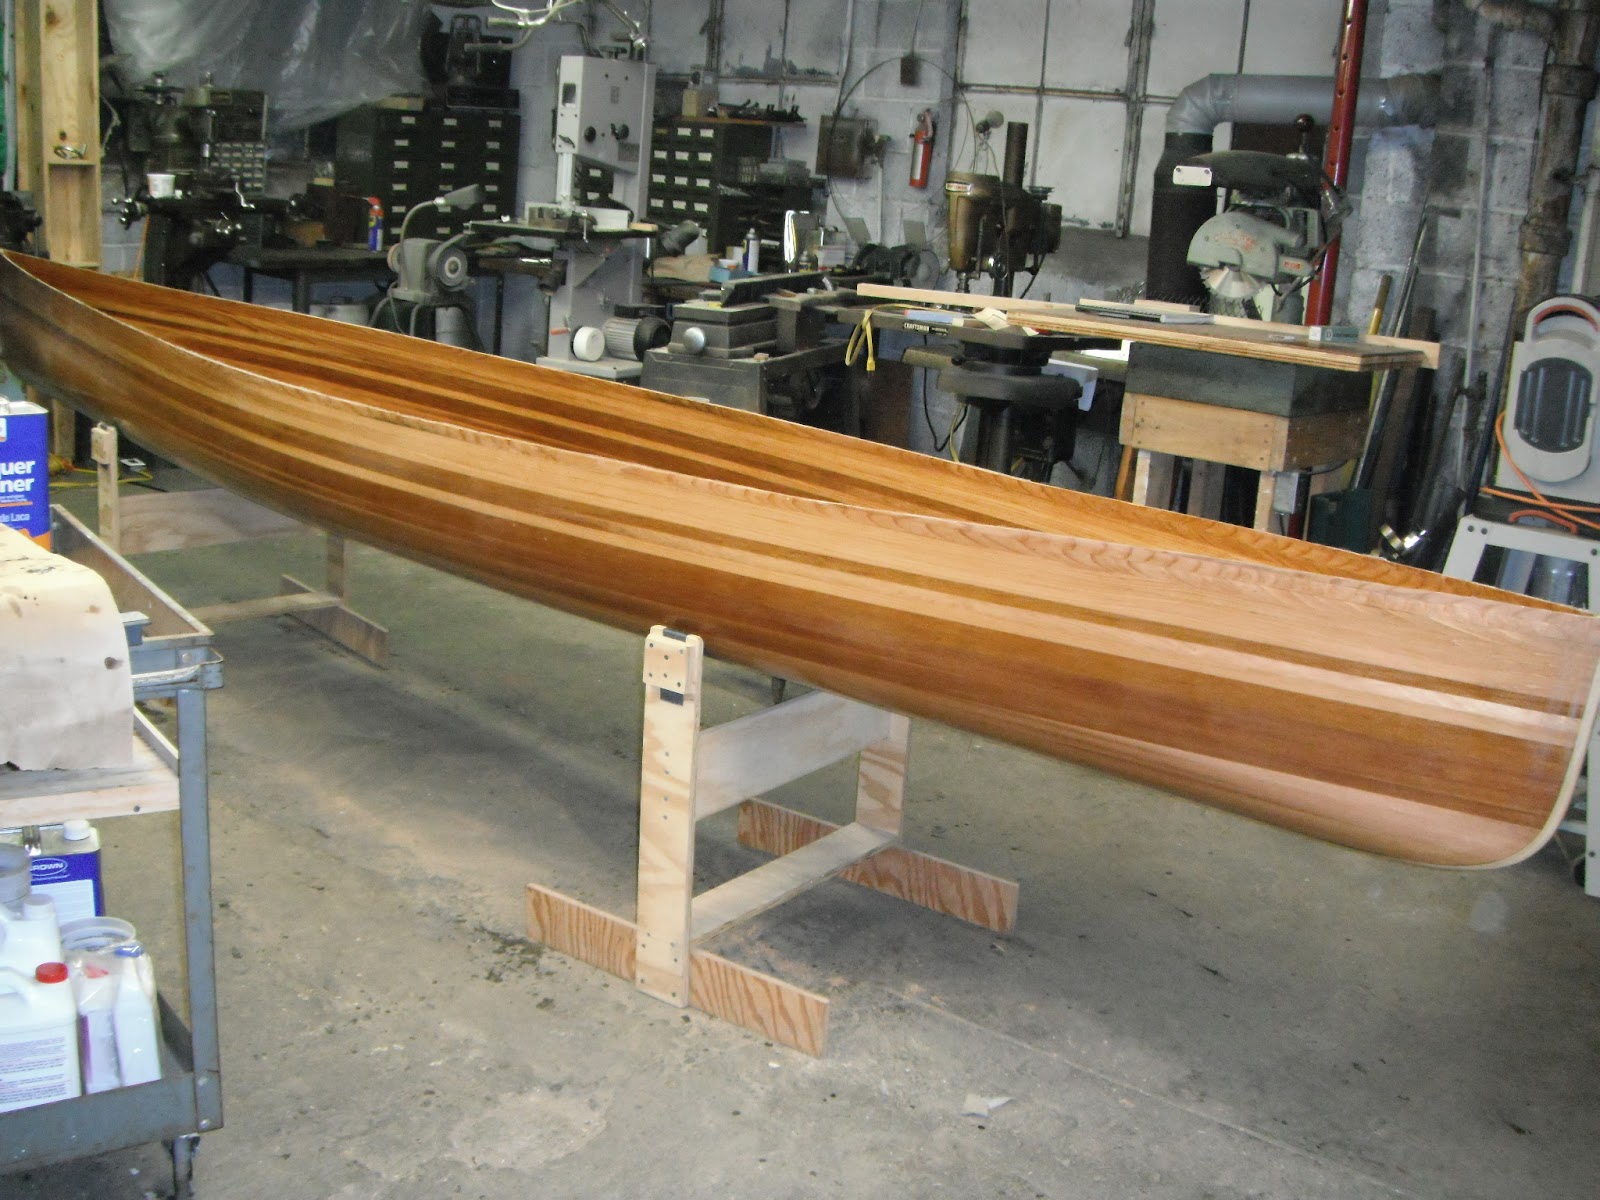
When my dad gets back from his appt. we will squeegee on a second coat and be done with the epoxy for a few days to let it set and we can get started on the gunwales and decking. The second coat fills in all the areas in the weave of the fabric and hopefully some gaps under the fabric as there are a few. For a smooth finish you do a third (hot) coat but that adds weight and we want a slightly rough finish from the fabric anyway as a non-slip aid. Besides, after the gunwales go on, it will be varnished and really "POP"!
AND the pics after the second coat in which I could not decide which was better, non-flash or flash:

No comments:
Post a Comment