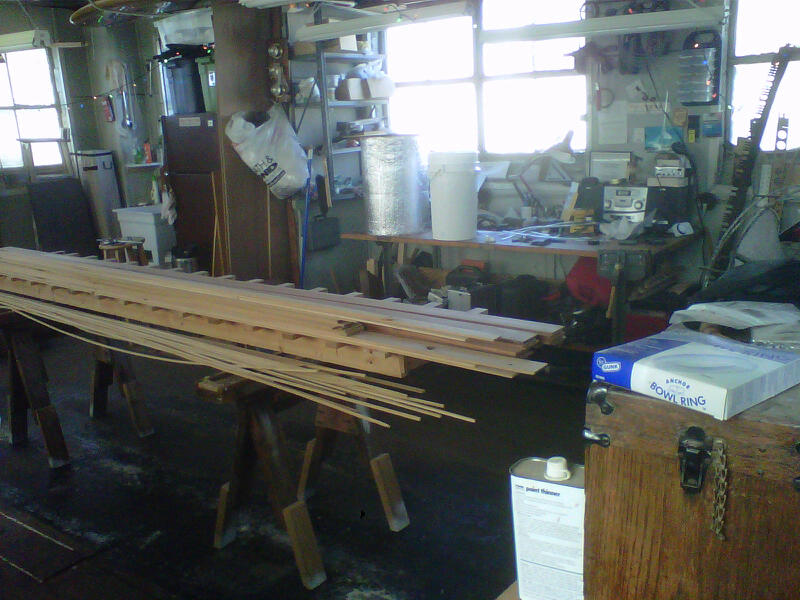
Above you are looking at what lumber I have for my next project. It's mostly redwood and there are some cedar planks of various shapes and sizes there on the left. My cove and bead strips are in pretty bad shape and I'm going to have to make more of them. I'm in need of some dark contrast wood as well. I might have to make a trip to some lumber yards here and there and see what I can dig up. The redwood is lacking stunning grain as well and I need to "spruce" things up a bit! In fact, a spruce pin stripe surrounded by some really dark cedar would be nice!
On the bench in the background is my chocolate porter waiting to either be bottled or kegged. I'm not sure what to do with it yet. I probably will keg it. It was so incredibly clear and yet so black. It looks delicious! It's been in the secondary fermenter for well over a month now. YUM!
OK so onto the canoe project. My Pop and I are onto the gunwales. They provide support and rigidity to the canoe as well as a bumper. The outside gunwale is also called a "Rub Rail" because it serves as protection to the body of the canoe as a whole by rubbing up against an object before the hull does.
We are working on the inside gunwales first. My dad and I routered out scuppers on the inside gunwales over the winter. These serve mostly as drains for when water is in the canoe and when you flip the canoe upside down, most of the water drains out easily. They are also decorative and can serve as places to tie line to to tie down cargo, etc...
At the bow and the stern, we are tapering these down to less than 3/16" over a length of 30 inches. they are going to 3/16" because the inside stem is 3/8" and two gunwales will be joining up at the stem so you divide 3/8 by two and you get 3/16!
The gunwales are Oak. A hardwood. The Oak is harder than the cedar hull and serves as protection against scrapes, etc... Above and below you see the tools that we used to work the wood down to the taper line. Oak is a tough momma! Using the handplane is difficult so the fine work was left to my sanding plane.
Below you can see the original line and how fine and flat the sander can get. This takes a little practice, but after a few times a novice can achieve great results with a little diligence.
Below my Dad is using a "Rat Tail" file with sandpaper wrapped around it to sand the insides of the scuppers. The file is tapered like a rats tail and can achieve many different size radiuses. The router sometimes leaves imperfections or burn marks and he is using a coarse grade sandpaper to eliminate them.
When he was done, I came along and sanded the scuppers with a finer grade sandpaper to remove any of the scratches the coarse paper leaves. This step pretty much has the wood ready for varnish or whatever finish may be desired.
The outside edges of the gunwales needed to be rounded off so we got out the router with a 1/8" radius bit and rounded the edges. We did some final sanding with super fine grip paper and started the mounting process which entailed lining up the centerline which was drawn on the gunwale long ago when we put in the scuppers so we could line the scuppers up equally on each side of the boat, port and starboard.
Below is the centerline of the canoe's top edge.
I didn't take pictures of the process as we were kind of busy, but I will see if I can walk you through it. What we did was place the gunwale on the inside of the canoe and line the centerline of it up with that of the canoes' and clamped it into place. Now, the gunwale is longer than the inside length of the canoe so we gingerly clamped it in place moving forward of the centerline clamp until we got about 24" from the bow with the gunwale over top of the bow. Next we draw a line matching the angles of the bow stem going downward and the angle of the bow stem going across with the aid of something called a bevel gauge. This tool finds the angle of an object and with the turn of the screw locks it in place and the angle can be transferred from one side of your piece to the other easily.

We took
the clamps off and cut "proud" of that line with the Japanese Saw, a
very sharp fine toothed saw that is perfect for these applications and
well worth the money spent on a good one! Now that the gunwale was cut
we placed it back in the boat just as we did before and we look to see
if the two centerlines match up. If you get it the first shot, you are
GOOD! We were a 1/4" off and had to make one more cut and one more fine
sanding job before we got it right. The third time is a charm! Leaving the bow section clamped in place we then moved aft of the center clamp and clamped towards the stern of the canoe and making our lines with the bevel clamp again and cutting and fitting and cutting and fitting and sanding. It can be an intensive process and can take some time. The stern took us about 20 minutes to get it to fit, but it fit nicely!
And finally the surfaces of the areas to be epoxied were sanded and epoxy applied lightly to glue it in place with a multitude of clamps to keep the two surfaces nicely joined.
Below you can see just how many clamps were used and the makeshift "thwart" in the center to help keep the shape of the canoe constant. "She's a beaut Clark!"
My Mom doesn't want us to work on Easter, but I have to plane and join some planks with my dad, it's best done with two people. He's a good sport about it and I am really glad that I have him around to help me on my projects! I suppose he's glad I am there to help with his canoe! It's all good! Happy Easter!


No comments:
Post a Comment