Seven days since my last post! I apologize but finding time for the blog has been tough. Several projects have been going on along with the surfboard including: Prepping the canoe for varnishing and varnishing, Felling a 60 foot wild cherry tree (where are my powdered wig and wooden teeth?), brewing a batch of chestnut beer, bottling a batch of Gluten Free sorghum beer, cutting lawns, fixing a lawn mower and PHILLY BEER GEEK events!
One thing you should know about working with any kind of tool is that sometimes they break, OR sometimes you have to modify or make a tool to get the job done. These are things that I have been leaving out of my posts but they do take up a good bit of time. For instance; whilst using my Japanese pull saw, the blade pulled out and ripped my thumb to shreds. It bled a lot, but it is better now. In that time of bleeding I had to strap on a set and fix that saw which entailed pushing the super thin, super sharp flimsy blade back in it's slot in the handle, seating it good and proper and then drilling a hole through the handle and the blade, cutting a stainless steal pin to fit through the blade and handle and "peening" each end of the pin with ball peen hammer to secure it in place. This process took probably about an hour. These kind of situations are thrown at you fairly regular and take up a good bit of time. That is why I dislike procrastination. Procrastination will make you work harder and longer hours to make a deadline and sometimes make you miss a deadline. I have 20 days to get ready for the Mystic Woodenboat Show and should not have to worry too much, but sometimes life throws a monkey wrench in your plans. Several different situations held my start time up, but if those guys at grain can do a board in 5 days, then I should have no sweat, but I always do something different. I dare it. This time I used reclaimed wood which had it's own monkey wrenches in itself. I am doing a much larger board with differences in design. I am also being innovative with my leash plug and vents and placing them underneath the deck so you only see a very bare minimum of the hardware and at last, I am going to epoxy on a fin (which I haven't made yet, LOL) which is different than using the fin box like before. Wish me luck!
Here are some pics of the past seven days events!
Below I am assembling the frame by gluing it together. It's a slot "A" in slot "B" kind of thing with glue added.

After the glue on the assembled frame was dry I started placing shims of thin wood under each cross member of the frame on top of the strongback (support frame that I will be working off of) to match the "rocker" (lengthwise curvature) of the frame.
Nose rocker of the surfboard. The tail section looks the same. Basically the hull planks are going to be laid down upon the strongback and the frame will be place on top of the hull and glued to it. They will both get clamped in place and form the shape of the curvature that is laid out on the strongback.
Keel keyway. These keep the center keel in place while clamping. It has a tendency to squiggle all about and that can prove bad because all the cross members of the frame will be out of line and not make a "fair" shape to the surfboard outline.

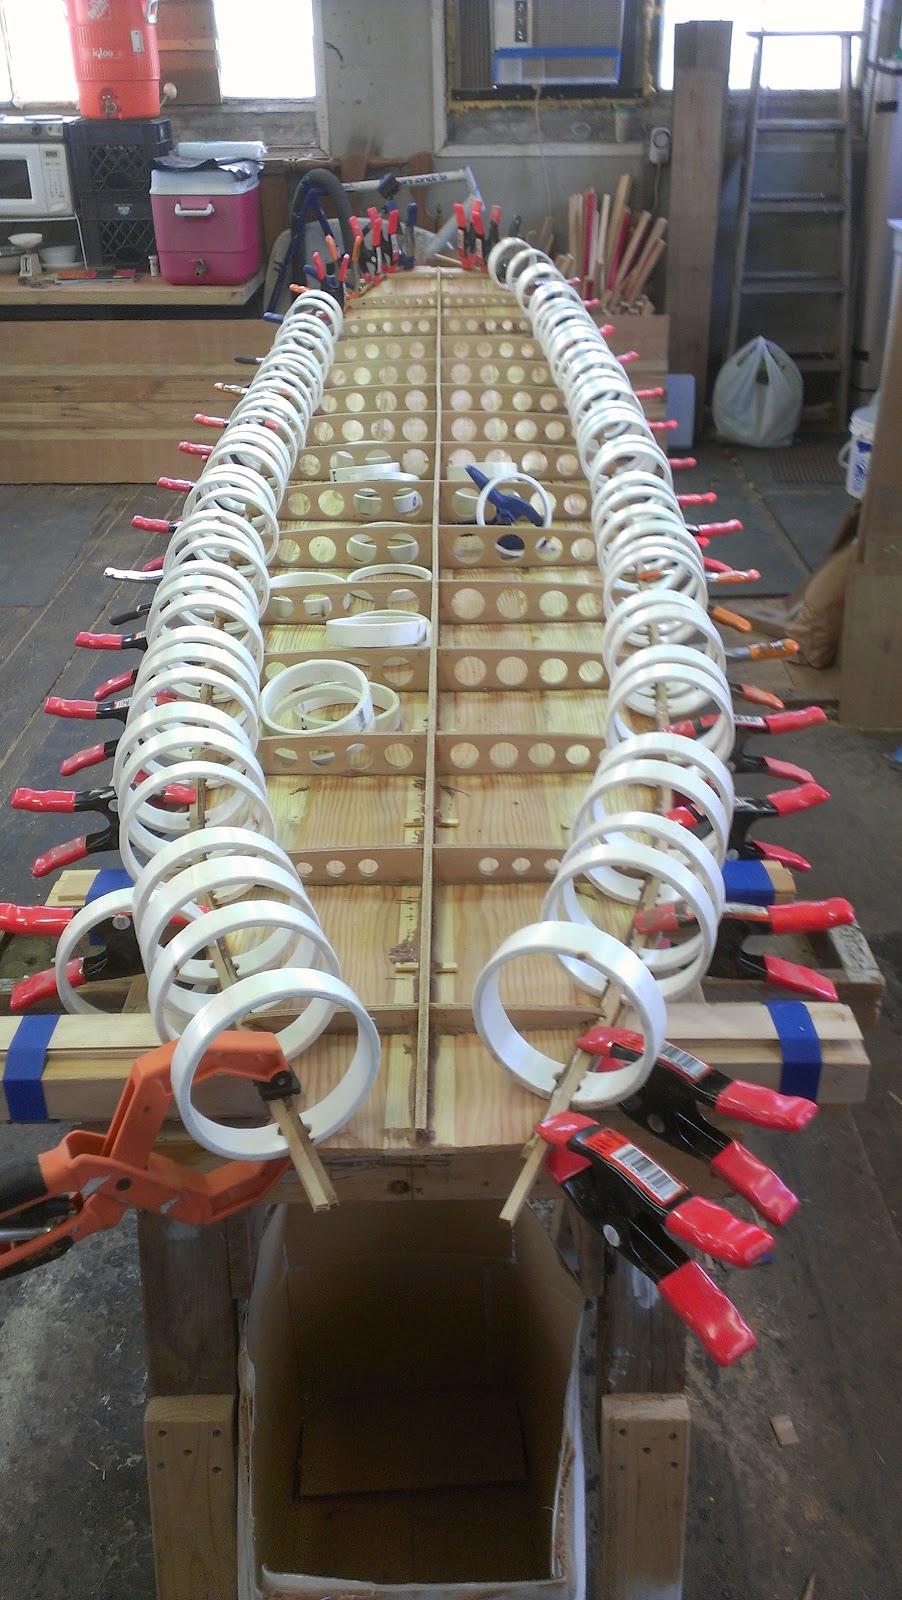
Here we have the whole shebang glued up. Wood straps or "battens" are clamped overtop of the cross members of the internal frame. The glue is Dow 5200 polyurethane caulk. This version takes 3 days to dry so in those three days I focused on cutting down a tree, working on the canoe with my Dad, cutting lawns, fixing a lawn mower, tilling the new garden and BEER!

Weird bugs and there eggs on the underside of the cherry tree's leaves. I'm not used to using the camera on my new EVO 4G LTE cell phone yet as you can tell by all my pics. I really don't think these are Ladybird Beetles, but they look similar...

The caulk was dry so I put on the first rail strip called the "Chine". This strip will show the builder the overall shape that the board will have. It showed me that there are some differences in the position of the cross frames and that a second chine will have to be added so that I can have extra wood on there to "fair" a much nicer outline to the boards shape.

Here is the meat chine glued on. I let that dry and then took the new hand planer and faired a much nicer outline to the board. If I hadn't have done that step the board would be wavy and warpy looking.
Philly Beer Geek competition was Wednesday night so Tuesday I bottled my Bleeding Gums Murphy Belge that I brewed on Cinco de Mayo at Barry's Homebrew big brew day. I thought it was going to taste harsh, but dod damm it tasted really really REALLY good! It's gluten free and I brought a bunch of bottles along with me to the competition at Manyunk Brewery last night and handed them out telling people to put them on the shelf until July 4.

After planing the outline of the board, I glued on the first rail strip. I did it cove side up thinking it would be really easy to run a line of glue down it, and it is, but one cannot clamp to the top of it without ruining the delicate cove. So I had to mill a round strip and glue that in over the cove strip.

And then the third rail strip!

No comments:
Post a Comment